






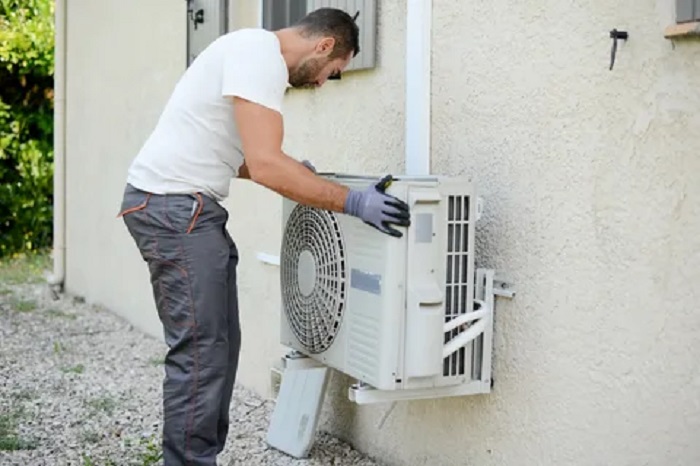
An air conditioner may stop cooling, start making noise, leak, or display errors. It’s important to start repairs correctly: identify the symptoms, rule out common causes, and understand where safe diagnostics end and the specialist’s work begins.
Below is a practical procedure that will help prevent further damage and save time. The article also mentions MGM Heating & Cooling Rochester. When the problem occurs: immediately after startup or after 10-20 minutes, in hot weather, in high humidity, or after a power outage. This speeds up diagnostics.
- Take photos of the error codes. If there is a code on the display/indicators, do not reset it immediately – it may indicate a sensor, fan, or communication problem between the units.
- Do not “top off” the refrigerant without checking for leaks. Loss of refrigerant usually indicates a leak. Simply topping off the refrigerant without pressure testing and checking the connections provides a short-term effect and can damage the compressor.
- Be careful with cleaning products. Harsh chemicals can damage the aluminum fins and the heat exchanger coating. For in-depth maintenance, it is best to entrust the cleaning to a professional.
- Do not wash the outdoor unit with high pressure. The jet can bend the condenser fins and reduce heat transfer. If you clean it yourself, use moderate pressure and a “rib-like” flow direction.
- Check the drainage. A damp odor and occasional leaks are often related to the drainage system. Prevention reduces the risk of leaks into the room.
- Schedule maintenance 1-2 times a year: before the cooling season and (if the air conditioner is actively heating) before the heating season. This extends the service life and reduces energy consumption.
Reminder: when it’s best not to experiment. If there is icing on the line, frequent trips due to protection, a burning smell, tripped circuit breakers, board errors, or a suspected leak, it’s best to call a technician. Attempts at disassembling the unit without experience often result in damage to the heat exchanger, system depressurization, and more expensive repairs.
Checking the power supply: circuit breaker, outlet, terminals, indicator
If the air conditioner does not turn on, shuts down spontaneously, or remains silent without errors, first check the power supply components in the following chain: panel > outlet/terminal block > cable > unit terminals > indicator and board power.
Before any actions, de-energize the line: turn off the circuit breaker/RCD and ensure there is no voltage. If you have any doubts about your electrical skills, stop and call a professional.
What to check and in what order
- Breaker (and RCD/RCD) in the panel
- Check if the circuit breaker has tripped: turn the lever to “On” after a complete shutdown (reset) to “Off”.
- If the circuit breaker trips again immediately or after a few minutes, there may be a short circuit, line overload, or equipment malfunction; Further activation without diagnostics is not recommended.
- For the RCD/RCD circuit breaker, check the “Test” button (if present): incorrect operation is a reason to replace the device and check the line.
- Socket/terminal box and presence of voltage
- Make sure that power is actually supplied: an indicator/multimeter will show voltage at the socket or at the terminal block input.
- Inspect the socket and plug (if connected via a plug): darkening, a burning smell, or melting are signs of poor contact and overheating.
- If the power line is separate, make sure that the air conditioner is not powered through an extension cord or questionable adapters.
- Terminals and connections (external and internal) block)
- After disconnecting the power, remove the terminal block covers and check the screw tightness: loose terminals often cause overheating, sparking, and intermittent failures.
- Check that the wire markings on the terminals match (L/N/PE or 1-2-3): mixed-up wires can cause incorrect operation or failure.
- Look for signs of overheating: darkened insulation, melted plastic, charring. Such elements require replacement, not tightening.
- Check the integrity of the cable between the units and the absence of damage to the insulation.
- Indication, response to the remote control, and board power supply
- Check whether the indicators on the indoor unit are lit and whether it responds to the “On/Off” button on the housing (if any).
- If there is no indication despite power being present at the input, the fuse, the board power supply, or the unit itself may be faulty. Control board.
- If there is an indicator, but the compressor/fan does not start, record the error codes (flashing/display) for further diagnostics.
Summary: checking the power supply is the fastest way to rule out “simple” causes of failure: a tripped circuit breaker, poor contact in the outlet or terminals, or a damaged cable. If there is power at the input, the contacts are working properly, but the air conditioner does not start or trips the circuit breaker, further diagnostics should be performed by a specialist to avoid damage to the electronics and wiring.